Treating a house like an engineered machine is novel in the history of shelter. Well, modern engineering is novel too. What I mean is, there hasn’t been an expectation that a building will “work” correctly until very, very recently, like maybe last year. I’d guess the only thing humans expected of their shelter starting from the days of the cave was relief from precipitation. Consider the functionality of a car (not the rolling bit, but the windshield wipers, the defogger, the heated seats, the light that comes on when the door opens, the sensor that tells you the tire is soft, the check engine light, the anti-lock brakes, the door that can withstand hurricane-force winds and is watertight…), for instance, versus that of a house and you can see how, even now, buildings really aren’t expected to do much more than keep the rain off.
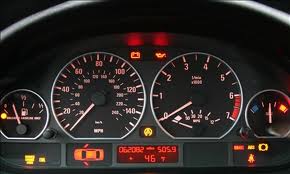
Cars keep track of what’s going on with all the systems. Imagine your house letting you know that one of the doors is open.
Some of us do expect more of our homes and I think in the pretty near future many of us in the developed world will expect a lot more. Why the heightened expectation? Here’s a few thoughts…
- We spend a lot of time indoors. Compared to a hunter-gatherer or agrarian society, our post-industrial lifestyle has us indoors a lot: more than 90% of the time for Americans.
- Our sense of quality of life is strongly tied to our material belongings and the material environment in our homes. All that valuable stuff in our homes requires a controlled indoor environment; imagine a big screen tv or a squashy sofa in a cold, smelly hut.
- Related to the care of our material belongings, security is a concern now. We keep windows closed and we want to obscure when we are home and when we are not.
- Air conditioning has become widely available and with it, non-stop comfort is considered a right. Comfort is defined by a narrow band of temperature and humidity. Using machines to stay in the band is the norm.
- A healthy environment has become harder to come by. We have surrounded ourselves with chemicals, many of which degrade our health.
Perhaps I sound critical of the mental state of mind that drives ever higher expectations of what our houses should provide. In fact I do believe that a house should provide safety, a healthy environment, comfort, enduring value and not suck up gobs of fuel to do it. I think it’s inevitable that Americans are going to have to adjust our concept of comfort. But in the meantime we can learn a lot about how to create comfort in a more passive, or at least less energy-intensive, way. So, if we want our homes to function in an integrated way, with complex systems communicating and working together, how do we do that? I think the most basic requirement is that you have to know what’s going on in the house. As a result, Nik and I are measuring stuff all the time in our house. You probably are measuring too. You’ve probably got a device that measures the indoor temperature. Maybe you also have one that measures outdoor temperature. The electric company is measuring how much electricity you are using, maybe the city is measuring how much water you are using. To really learn what these measurements can tell us about what works and what doesn’t, we want to know all this stuff, and more, with a great deal of detail, and we want to be able to see what changes over time.
This whole-home energy monitor has a countertop display that shows the home’s power consumption at the moment. It also shows how much electricity has been used over the course of the day. Cost information and a little orange light that glows when we’ve exceeded our target are pretty useless.
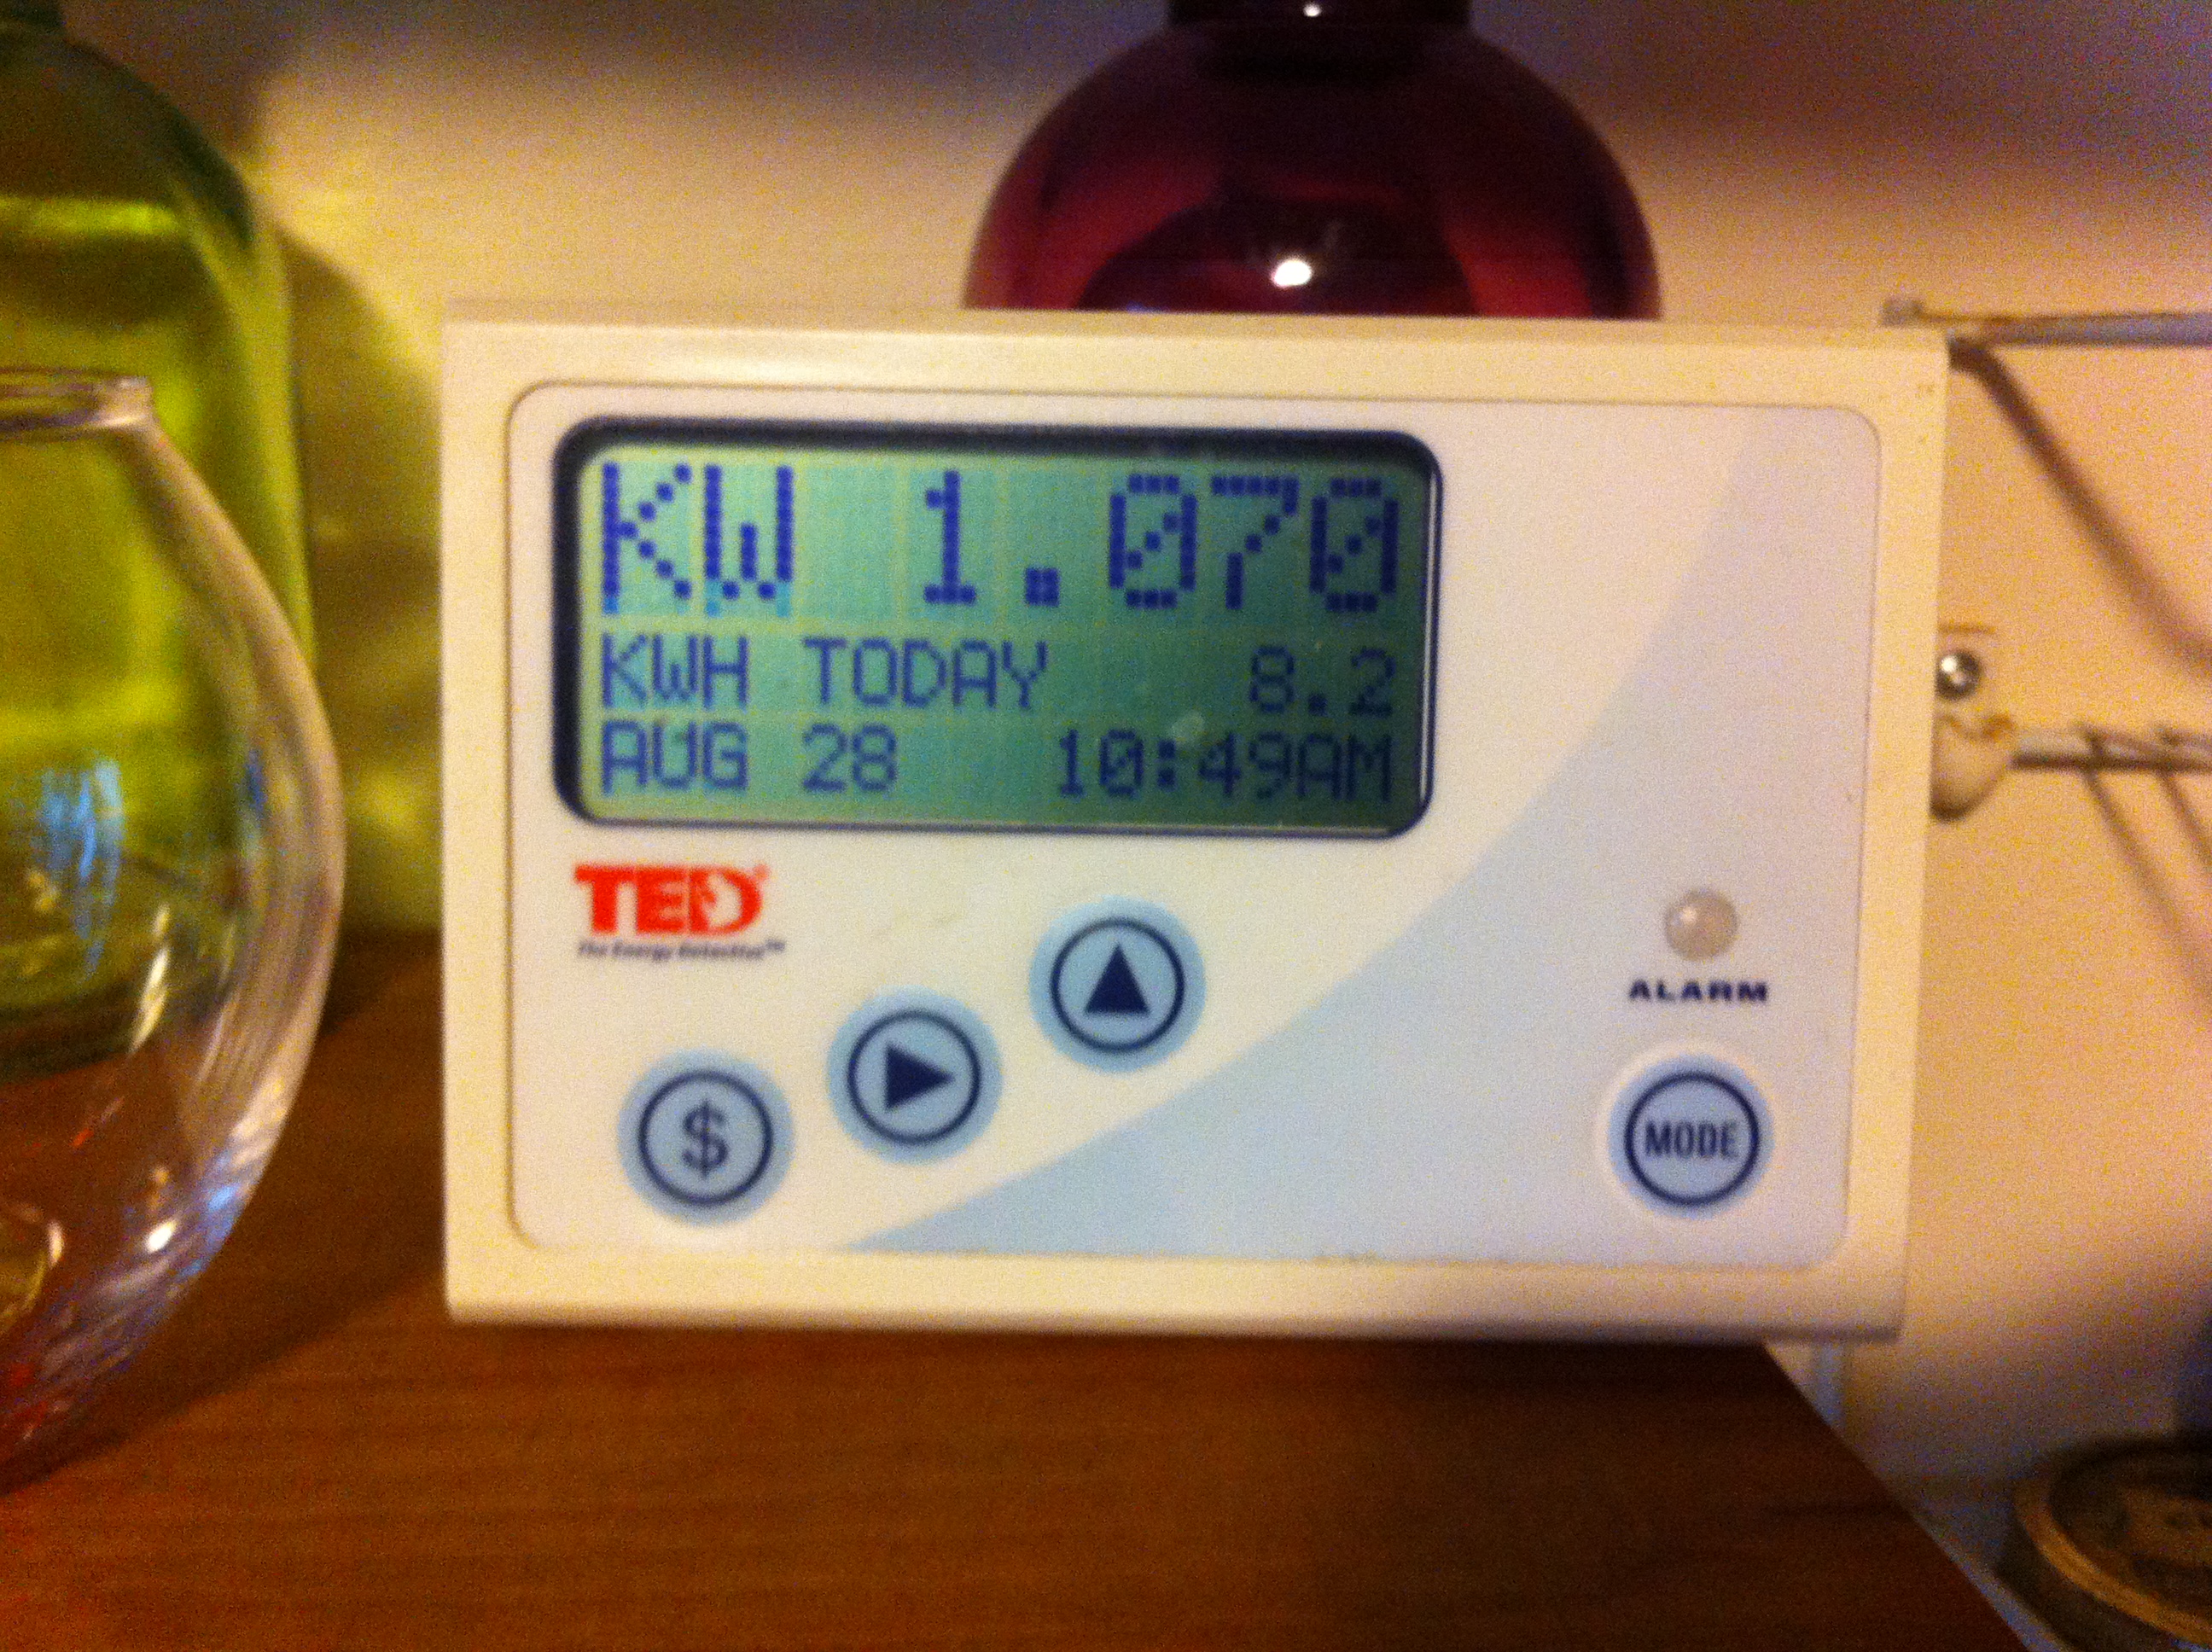
We’ve tried a bunch of different monitoring devices over the years. The first one was the TED (The Energy Detective). This whole-home energy monitor shows us in real time on a little countertop display how much electrical power is being used in the house at the moment. It was pretty neat because the kids could see in a direct way the effect on our electric demand of having stuff “on” or “off”, and we used it to hunt down parasitic electrical loads: always-on electricity users that weren’t actually doing anything. The TED also showed us daily electricity usage, so we learned what a typical day looked like (about 3 kWh in the low seasons, and about 5 in the high seasons), and a month-to-date total. With the help of the TED we drove our monthly electric use down about 25%. But that was one, mildly deprived, month and it wasn’t something we sustained.
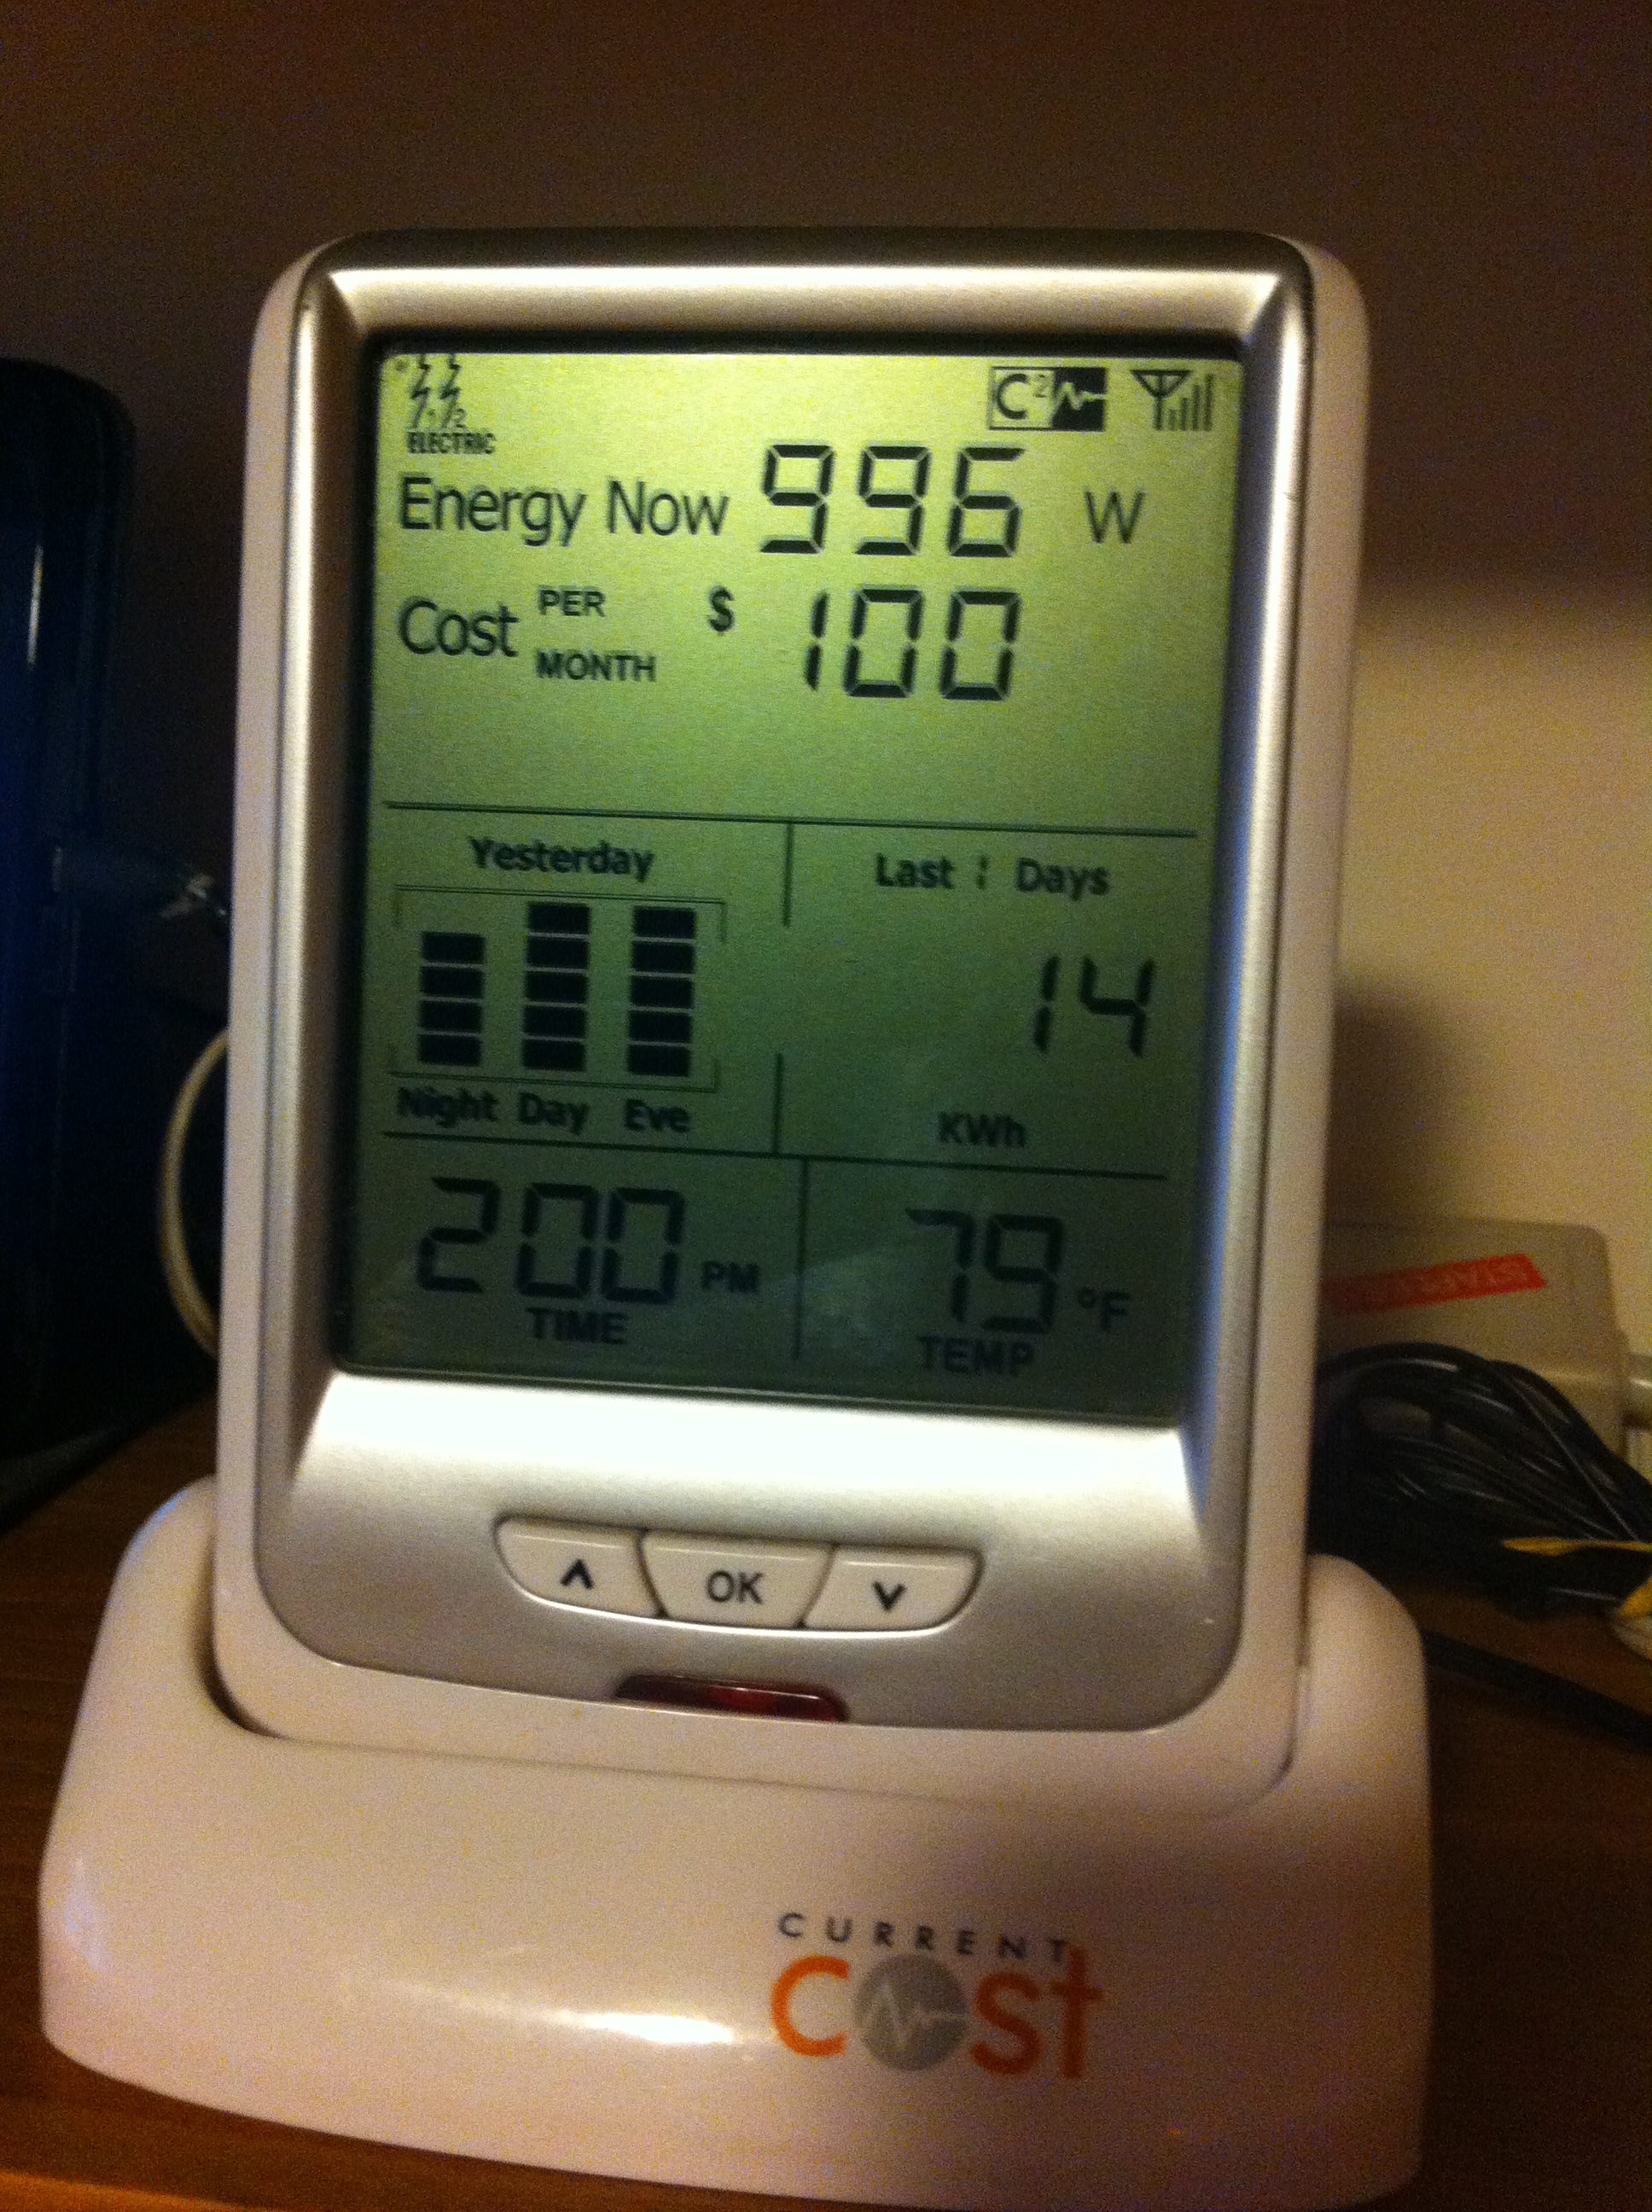
The ENVI CurrentCost Monitor shows more information than the TED, but arguably it’s not any more useful.
Next we got a Current Cost ENVI Monitor, which does the same thing as the TED, but also measures individual circuits separately from the whole house. A big difference: the data was uploaded to an online server so we could check in on the state of our electricity consumption from anywhere, and see stored information in graphical format. Unfortunately, the TED and the ENVI CurrentCost Monitor often disagreed on instantaneous power readings, and that made me uncertain about the information we were getting from both of them.
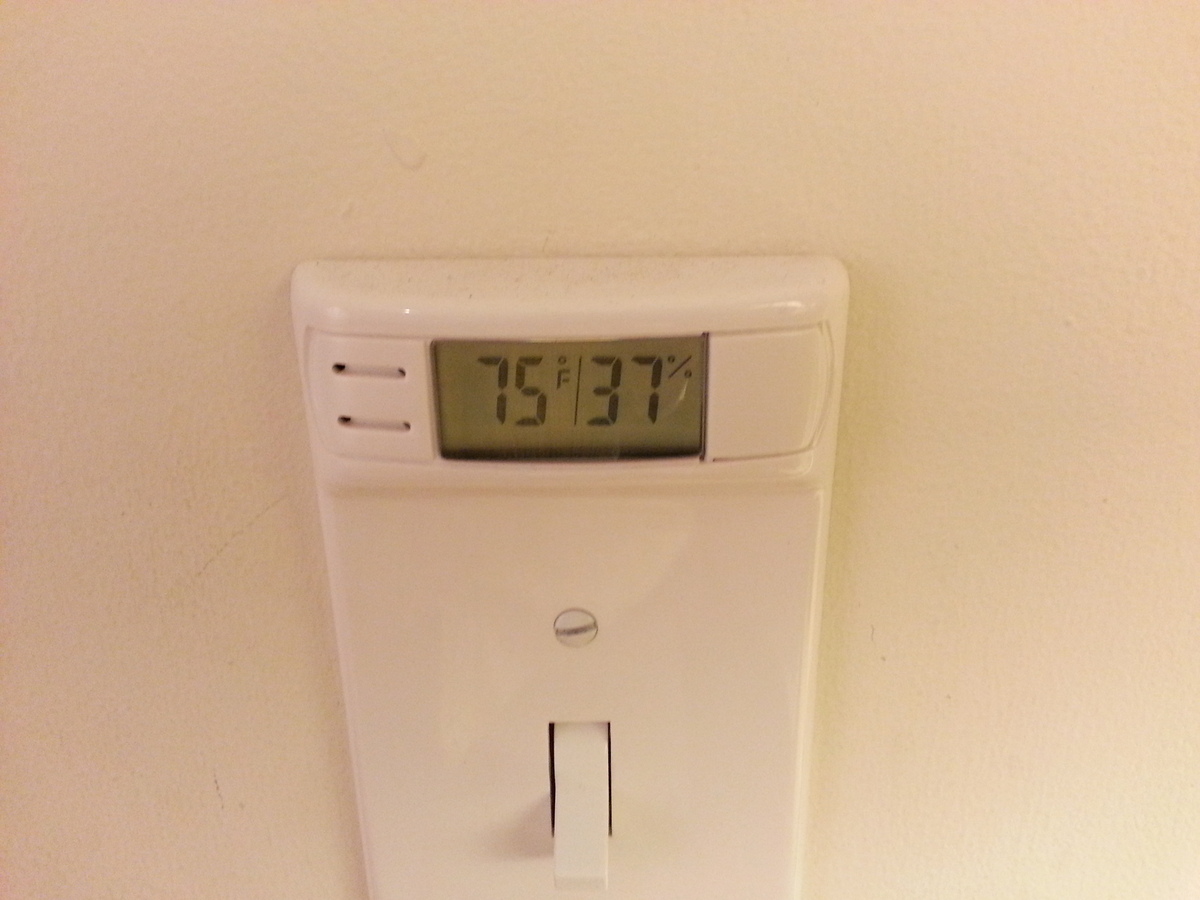
We want to know what the temperature (left) is in each room so we develop an understanding of how well heat moves around the house. Humidity (right) is handy to keep track of because it’s part of making comfortable, healthy air
In the meantime, we had put temperature and humidity gauges in each room. I like to keep track of relative humidity because it’s a good indicator for ventilation rates, and if the relative humidity gets too out of whack it can either be uncomfortable or it sets up conditions for mold. None of the thermo-hygrometers have data-logging (ability to keep and display measurements over time), but I use them to check in on what is going on in different rooms. We could see that the relative humidity in our bedroom spikes after a long winter’s night, while the relative humidity in the kids’ rooms was much lower. Also, our daughter isn’t just an overly-sensitive complainer, her room really was the coldest room in the house.
Just recently we got a new whole home energy monitor that does everything the ENVI CurrentCost Monitor should do, with more circuit level measurers, and a better website. The eGauge also keeps track of our electricity generation from the solar electric. At any given time we can see how much electricity is being generated and how much we are using, and we can see generation and consumption separately. The graphical presentation is the best of any of the devices we’ve tried so far.
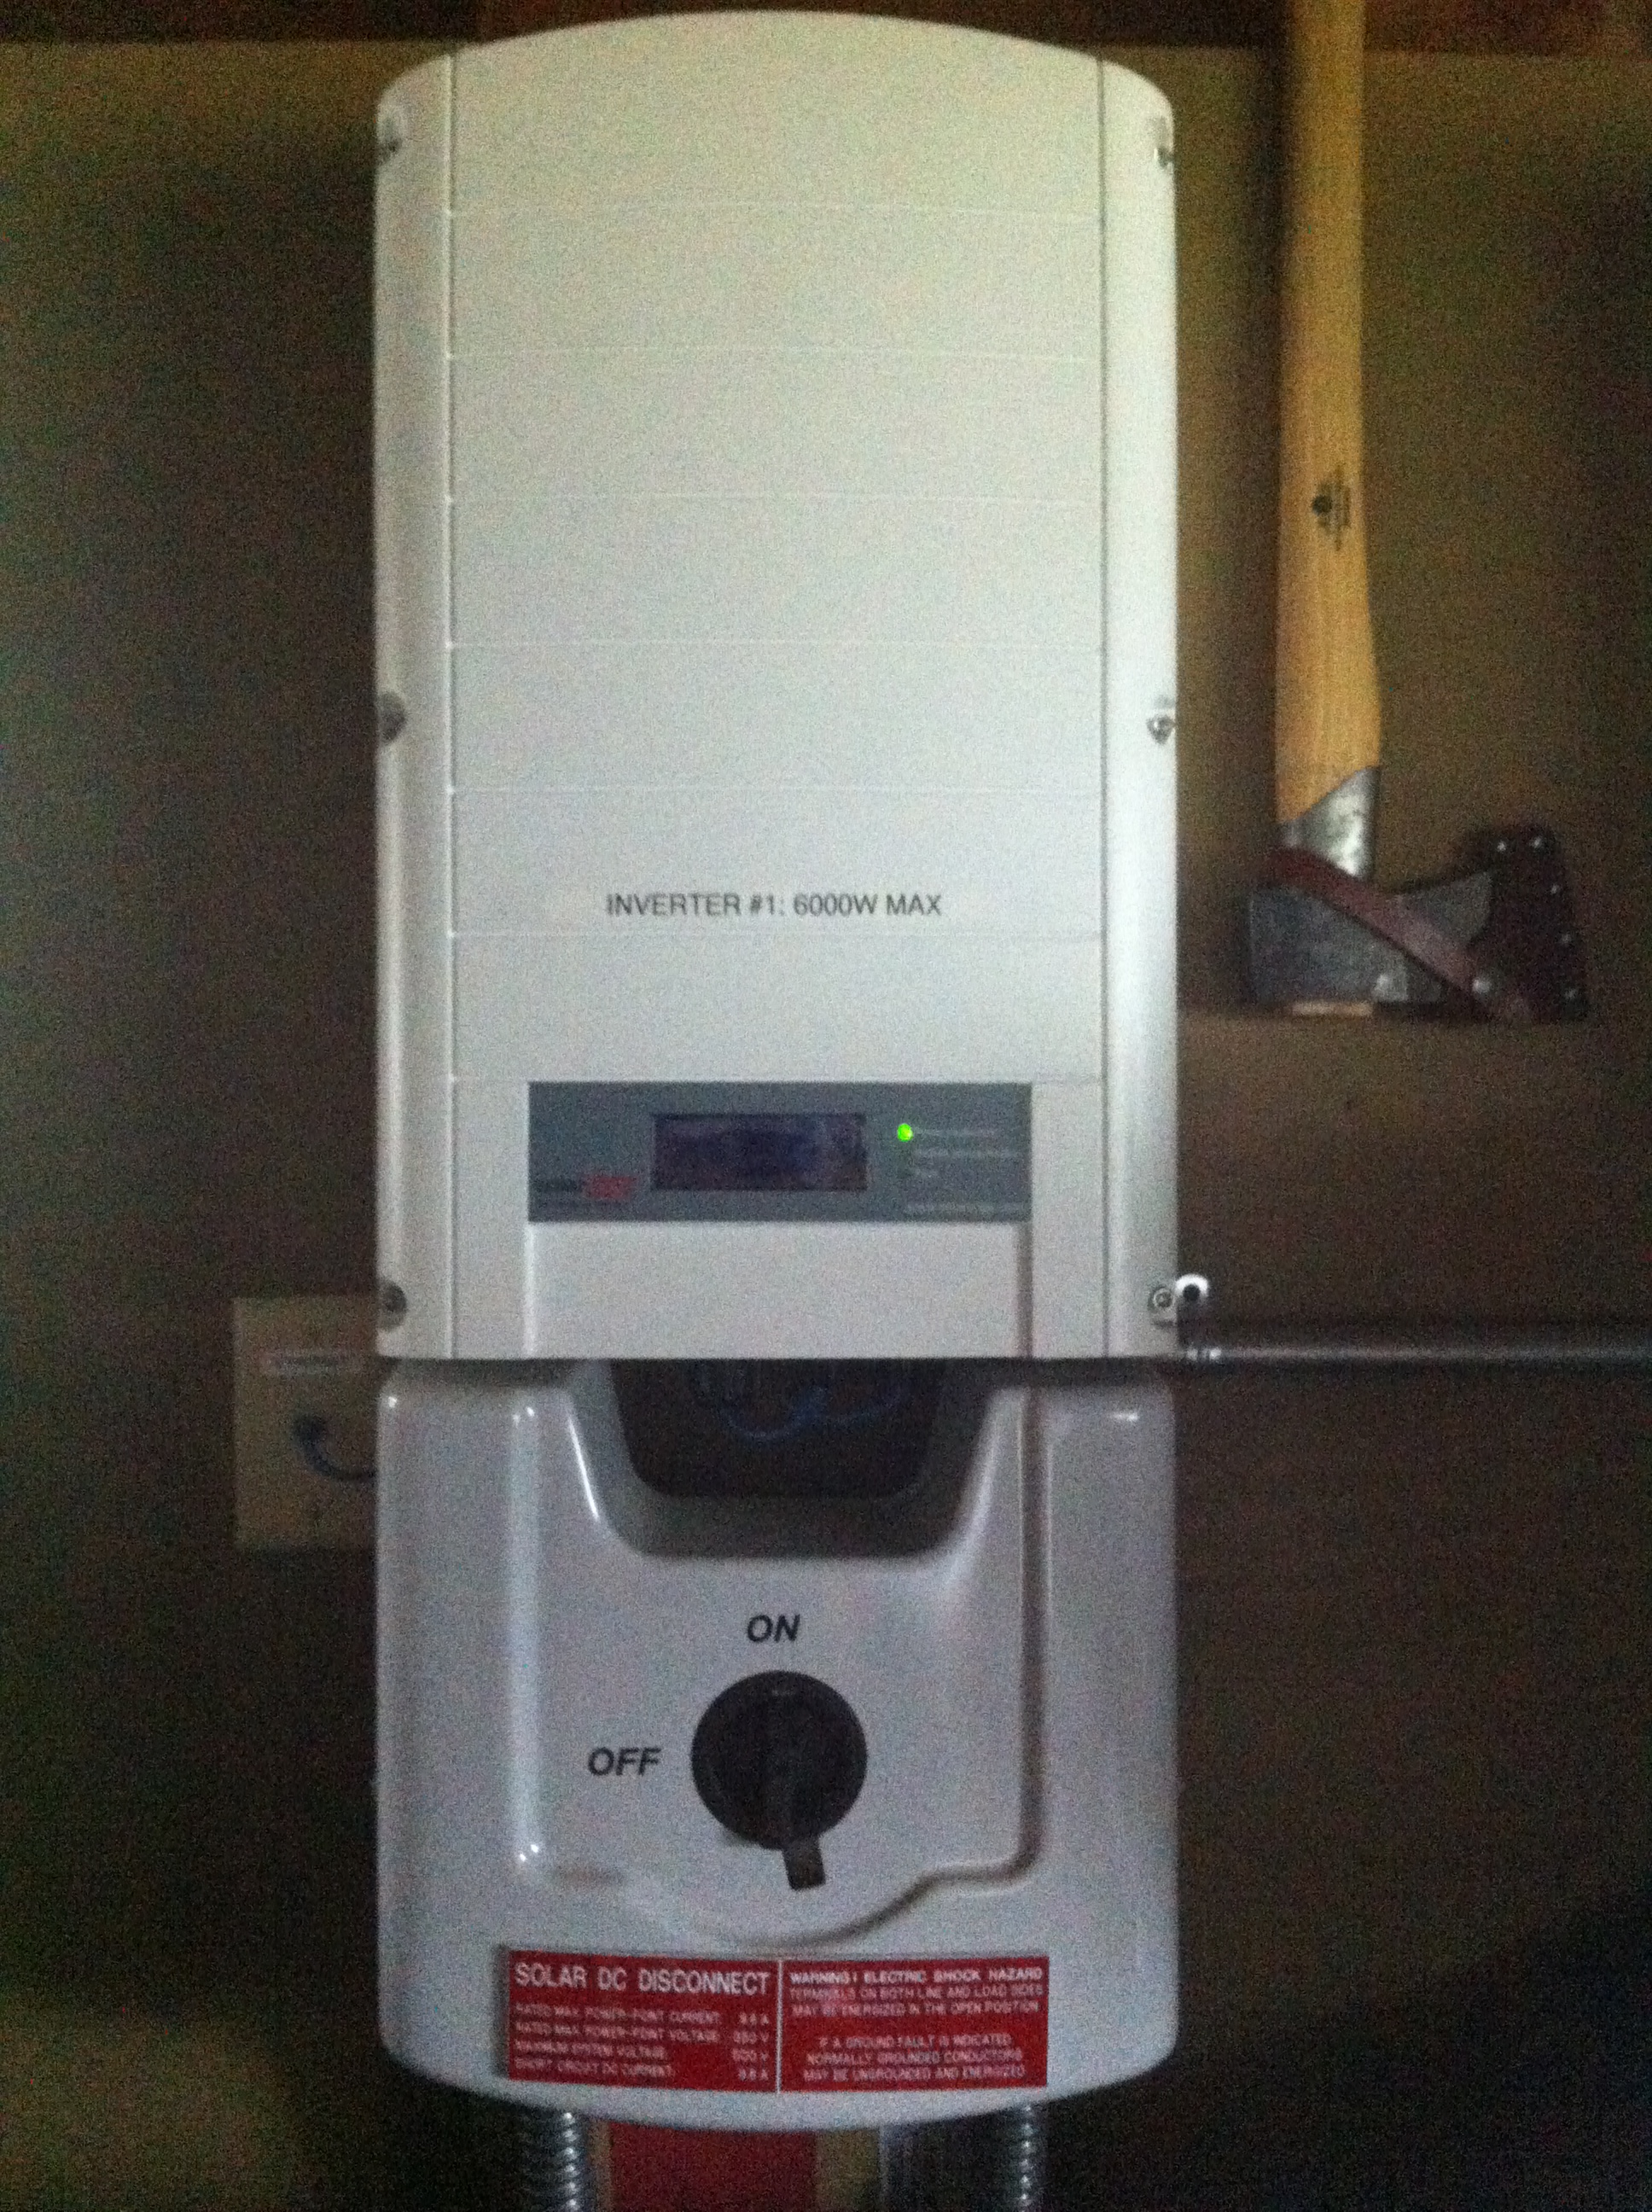
Our inverter is constantly monitoring our solar panels: temperature, wattage, voltage.
The solar PV system has it’s own monitoring. Nik connected the system to the internet shortly after installation. The manufacturer of the inverter hosts a server where we can see lots of information about the state of the panels and how much energy has been generated over the course of the day or month. We can look back over the last twelve months and see how electricity generation rises and falls throughout the seasons.
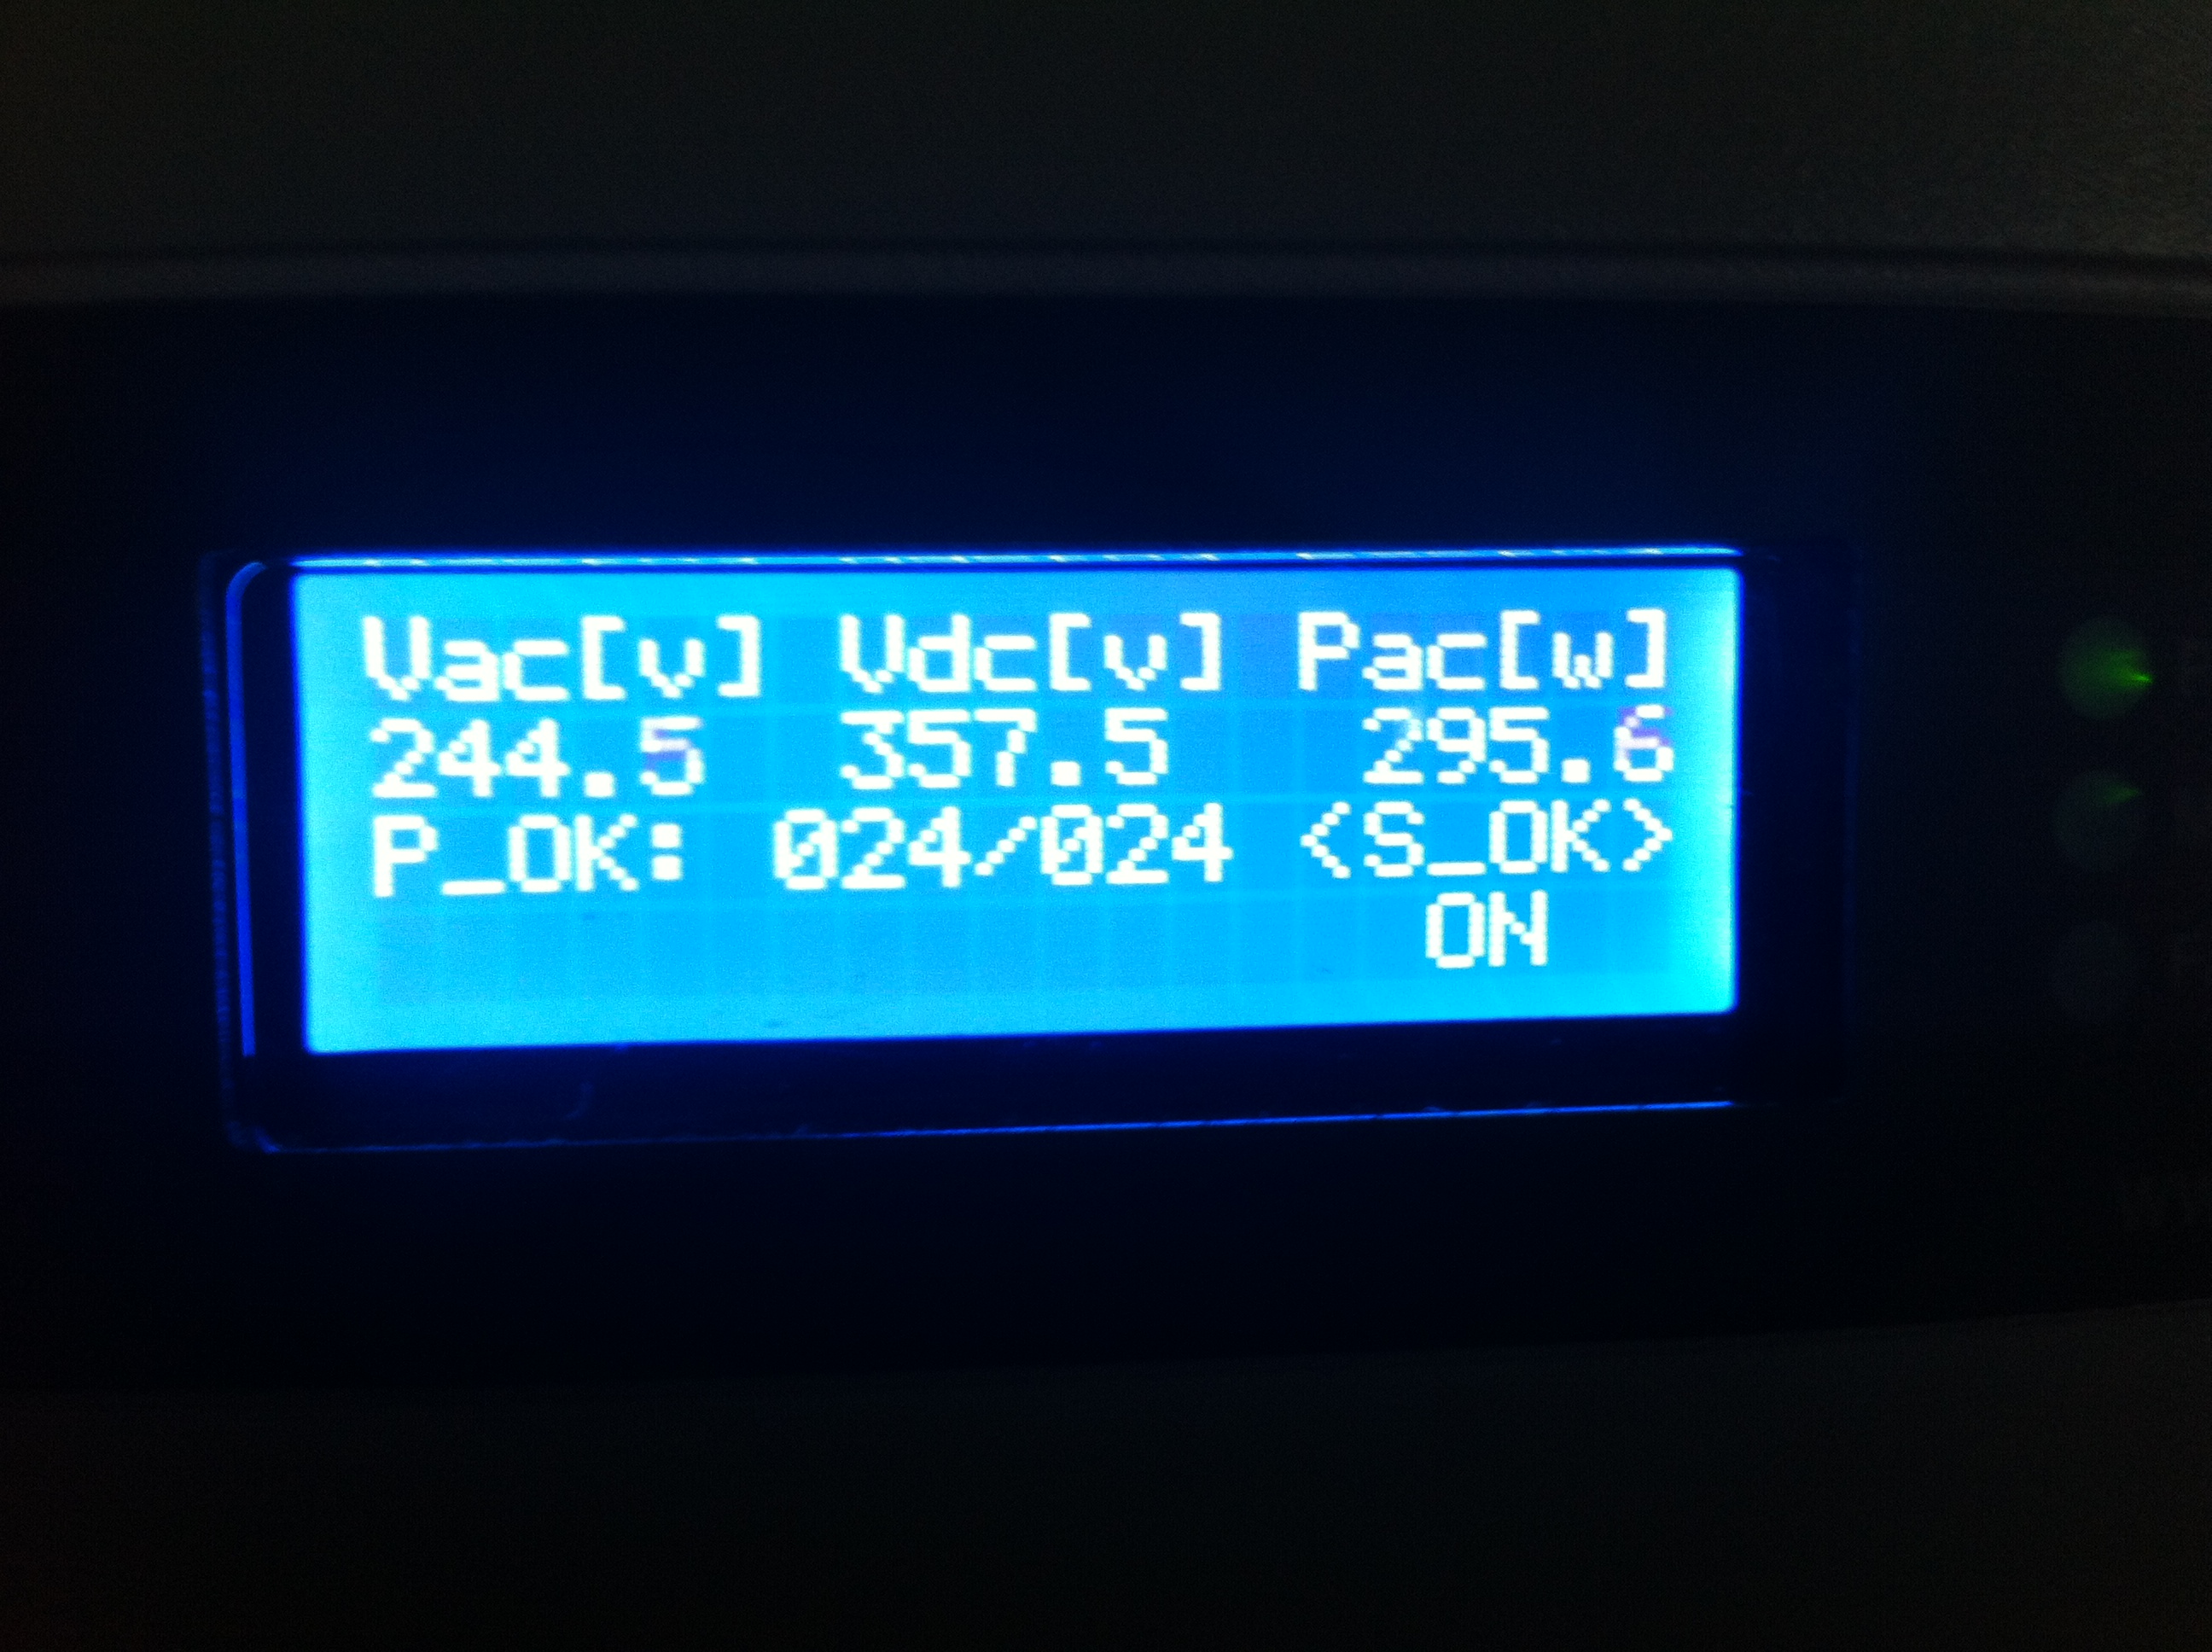
The figure on the right is the current wattage. It’s raining, so the panels aren’t generating much power.
One missing piece of information is the outdoor temperature. Only the eGauge can do that, and we don’t have it set up to do so. However, we recently got a very sophisticated control for the mini split heat pump and it measures outdoor temperature and humidity. At this point there isn’t a way to record and save these outdoor temperatures, but there are some 3rd-party groups working on it.
Cost..? The TED was around $150 when we first got it. They’re several generations on now, and they’ve added multi-circuit monitoring and web access. The price has risen accordingly. The ENVI CurrentCost Monitor was also about $150 but has an on-going hosting fee to view the data on the Internet. I’d categorically say it wasn’t worth it because it is buggy, inaccurate and the web interface is terrible. To be fair, the factory has released several new versions since this one. The current models may be more reliable. The room temperature and humidity gauges are relatively cheap, about $11 over at EFI, and very handy. We could be measuring temperature and humidity in each room through the eGauge, and have it all graphed with the energy data, but the cost is easily 10X to do it that way. Finally, the eGauge itself was around $600. It connects to our router and acts like a web server. As a result there is no ongoing hosting fee associated with this device (a big selling point.) Nik wishes the eGauge had a mobile app. The website does work on a mobile device (we actually have it running on an old android tablet in the kitchen) but some of the functionality is only available from a desktop browser.
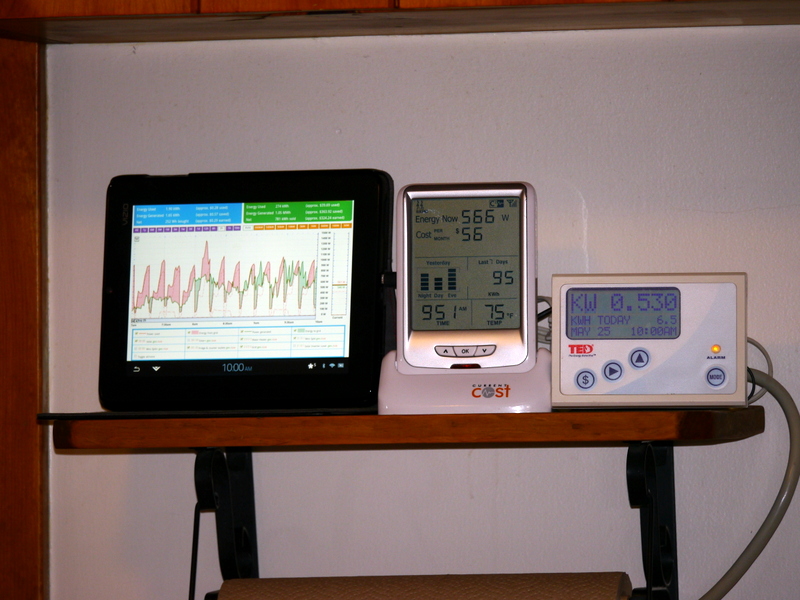
(from Left to Right) eGauge, ENVI & TED
What have we learned with all this measuring? Nik was able to catch a few things that were amiss: oven left on, electric space heater left on. The relative balance between electricity we harvest through the solar panels, and electricity we consume is a hugely important idea to drive home to everyone in the house every day. We are able to zoom in on something specific, like a clothes dryer load, and figure out how much energy that uses. We now use our clothesline whenever it’s above 50 degrees and not raining, and know we’re savings some real energy. I’m not really looking for lessons out of my measuring devices. Rather, I use them as one would the instrument panel on a car: to keep track of what’s going on and to make sure everything is running smoothly.